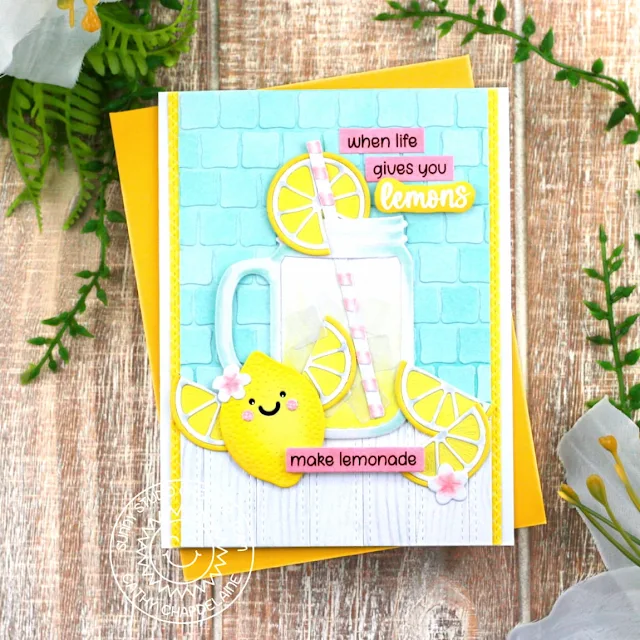
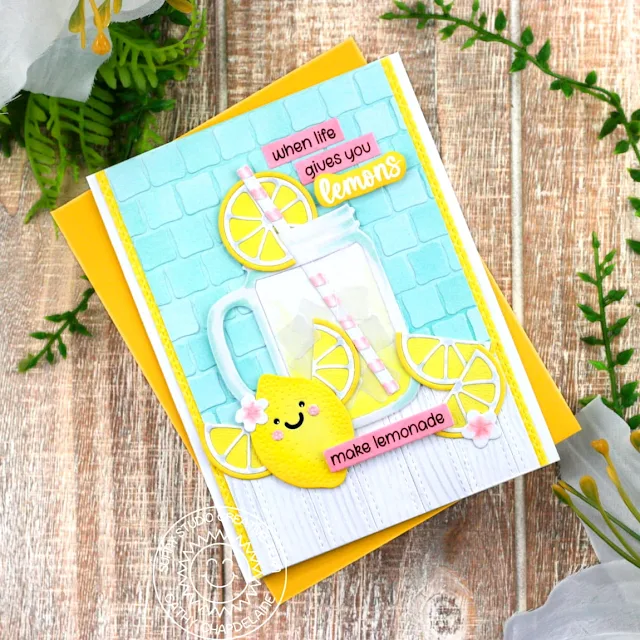
Hey friends! Cathy here today with an uplifting card for you featuring the Fresh Lemon Dies. I had so much fun making this and I can’t get enough of the cute smiley faces you can add to these lemons!
I started with the background panel by cutting a piece of white cardstock 4" x 5 1/2" and inking it lightly with Simon Says Stamp Seafoam ink. For a little texture (and because I thought it looked like a glass tile backsplash) I inked a second piece of white cardstock with the Seafoam ink and die-cut it multiple times using the ice cube dies from the Summer Jar Mug Dies. I adhered them to the background piece in rows covering the top 4" of the panel.
For a countertop look, I embossed a 2” x 5” piece of white cardstock using the Woodgrain Embossing Folder and inked it lightly with Lost Shadow Distress ink. I then die-cut this piece 6 times using the small die from the Stitched Rectangles Dies. I cut a piece of white cardstock 1 1/2" x 3 3/4" and adhered the woodgrain pieces to it trimming any excess from the edges. I then adhered this piece to the bottom of the background panel.
Next, I die-cut 2 strips of yellow paper from the Gingham Pastels Paper using the ribbon die from the Ribbon & Lace Border Dies. I overlapped/adhered the background panel to the ribbon strips on the left and right sides so just a stitched edge is visible and adhered the combined piece to the center of an A2 card front.
I die-cut the mug and straw from the Summer Jar Mug Dies from white cardstock and added some Copic colored details. I die-cut the ice cubes from vellum. I inked the lemon and slices from the Fresh Lemon Dies using Simon Says Stamp Lemonade and Sunbeam inks and added some gray Copic details to the white portions of the slices.
To finish, I die-cut 2 flowers and flower centers from white cardstock using the Strawberry Patch Dies and colored them with Copics. I added the flower centers as blush to my lemon. I stamped sentiments from the Punny Fruit Greetings Stamps on strips of pink cardstock and heat embossed the “lemons” sentiment with white embossing powder on white cardstock. I then inked over the sentiment with Lemonade and Sunbeam inks and fussy cut around it. I adhered the “lemons” and “make lemonade” sentiments with foam dimensional tape.
I hope you enjoyed and thanks for stopping by today! For more inspiration, please visit my blog www.inkredibleadventures.com and you can also find me on Instagram as @cathy.chapdelaine.
Sunny Studio Supplies Used:
 Stitched Rectangle Dies Shop at: Sunny Studio |
 Gingham Pastels 6x6 Paper Shop at: Sunny Studio |
 Woodgrain Embossing Shop at: Sunny Studio |
 Ribbon & Lace Dies Shop at: Sunny Studio |
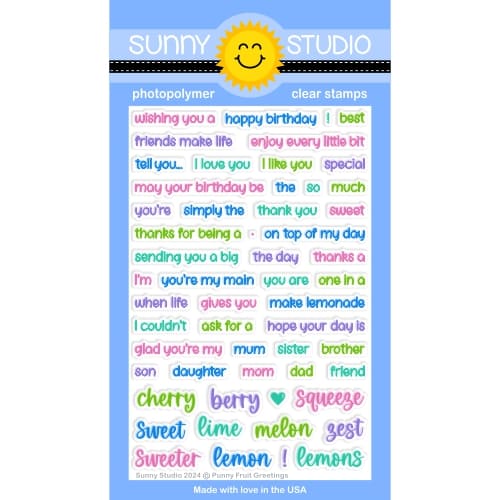 Punny Fruit Greetings Shop at: Sunny Studio |
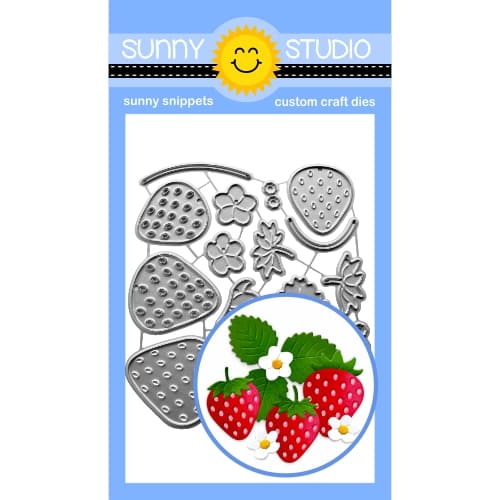 Strawberry Patch Dies Shop at: Sunny Studio |
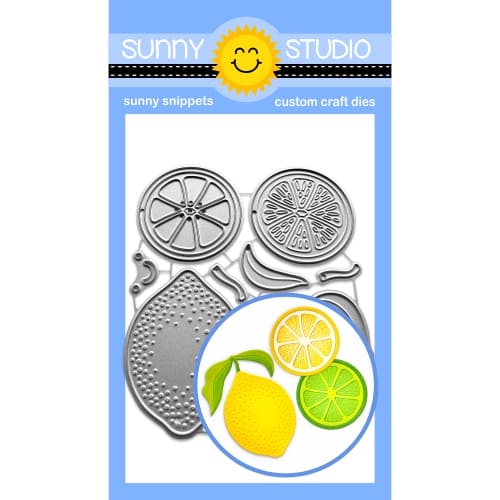 Fresh Lemon Dies Shop at: Sunny Studio |
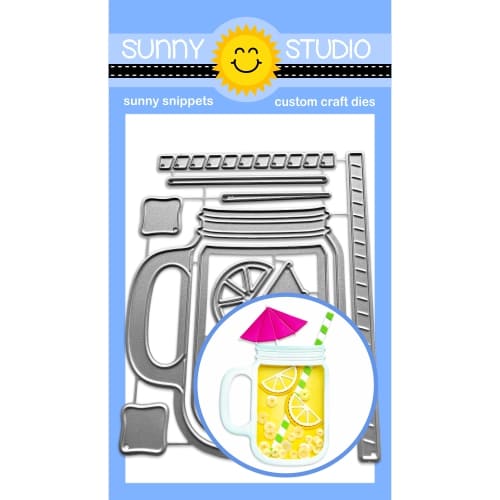 Summer Jar Mug Dies Shop at: Sunny Studio |

Hi Cathy. Your card is so cute. I really like how you make the kitchen counter and back splash. It looks great. I love how the little lemon looks like he is going to fly away.
ReplyDelete