
Hi crafty friends, Tina here and today we are integrating the cute Gift Card Envelope die into a card design. Of course, this die is totally adorable on its own and you can create the sweetest little card projects. But I thought it would be fun to create a little scene and have a Garden Fairy fly out of the envelope!
")
To start, I created a white A2 card base and grabbed a colorful flower paper from the Flirty Flowers pack. This set is one of my favorites, not only do you get gorgeous pastel colors, but one side of the papers has a heart pattern whilst the other side are flowers. I love having these versatile paper pads that give you a ton of options! For this fairytale card I opted for a beautiful purple tone and cut the panel with the outside border die from Frilly Frames Chevron. I glued this piece directly to the card base.
For my Gift Card Envelope I selected another purple paper, polka dots this time
from the Dots & Stripes Pastels pad. The envelope is very easy to assemble, I just
used a few strips of narrow double-sided tape to connect the flaps.
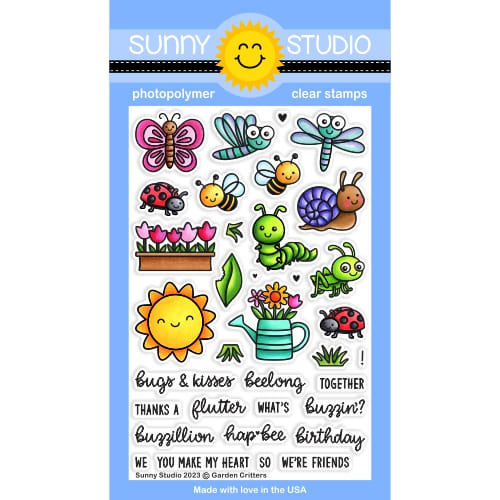
Next, I stamped and die cut my
elements for the scene from the Garden Fairy and Garden Critters sets. All the coloring was done with my favorite
medium, being Copic markers. I kept the color palette simple sticking with
purples, pinks, and blues. Isn’t it great that in cardmaking you can have pink
mushrooms and ladybugs!
")
For a grassy border I used the same paper as the background and one of the Mini Grass Border dies. I placed all the elements I had so far on my card and decided I needed a big bold sentiment. Since I am always in need of birthday cards I used this sentiment from the Big Bold Greetings set and cut it with the matching die. Another set that is an absolute staple piece for any craft room!
Finally, I mounted the envelope to
the card base and build the scene. I love how the fairy seems to fly out!
Lastly, I added the sentiment and a few pink gems from the Pastel Jewels mix.
 Flirty Flowers 6x6 Paper Shop at: Sunny Studio |
 Dots & Stripes Pastels 6x6 Paper Shop at: Sunny Studio |
Frilly Frames Chevron Die Shop at: Sunny Studio |
 Garden Fairy Stamps Shop at: Sunny Studio |
 Garden Fairy Dies Shop at: Sunny Studio |
 Big Bold Greetings Stamps Shop at: Sunny Studio |
 Big Bold Greetings Dies Shop at: Sunny Studio |
 Garden Critters Stamps Shop at: Sunny Studio |
 Garden Critters Dies Shop at: Sunny Studio | |
 Gift Card Envelope Die Shop at: Sunny Studio |
 Mini Grass Border Dies Shop at: Sunny Studio |
Enchanting! Beautiful!!
ReplyDelete