Hello and welcome to day 3 of our Sneak Peek Week! All this week I am showcasing projects using our newest Holiday collection which will be available to purchase on August 25th.
Today I have a number of cool new products to share, including two beautiful new holiday layering stamps, two new versatile background dies, and a fun script Spanish Christmas greeting. Let's jump right in!
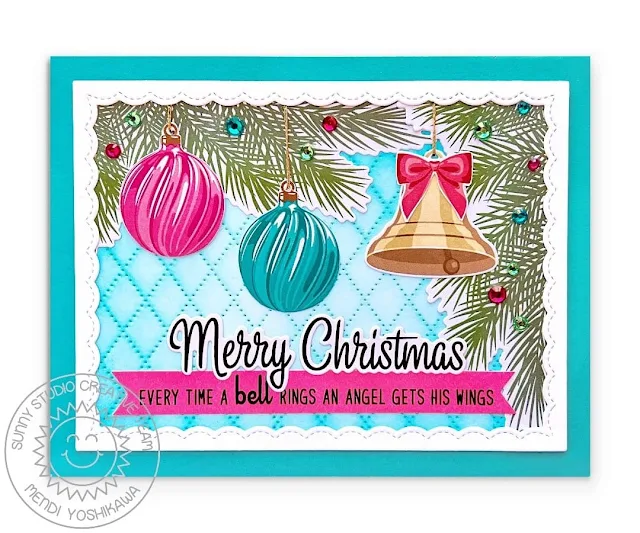
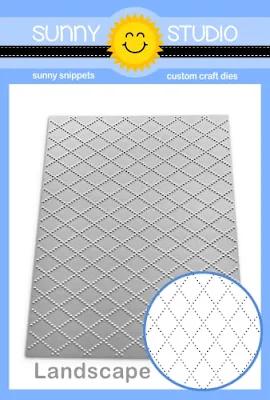
Card No. 1: My first card uses our new Bells & Baubles Stamps for the bell, glass ornament, and new corner tree branch which builds on all our other previous tree branches from a number of our other holiday layering sets. To frame my scene I used one of the stitched scalloped frames from our Fancy Frames Rectangle Dies and then backed my scene with the new Dotted Diamond Landscape background die, inking it up with Broken China Distress Ink. I tucked two of these stamped branches in the top two corners and then scattered coordinating rhinestones using our Rubellite Pink Jewels, Aquamarine Jewels, and Peridot Green Jewels to give the look of twinkly Christmas lights.
This set comes with the phrase "Every Time a Bell Rings An Angel Gets His Wings" from the Movie It's a Wonderful Life (or you can alternately choose "its" wings depending on what you prefer). I really had to work hard to get the full phrase to fit within the confines of the 4x6 set around all the other elements so many of the words have been squeezed wherever they would fit and read like a bit of a puzzle on the set. The beauty though is it gives the user maximum flexibility to line them up all in a row or put them in a block with multiple rows depending on the particular card design.
Card No. 2: For my next Bells & Baubles Card I combined two of the bells with the wreath and bow from our Winter Wreaths Stamps and berries from our Holiday Greetings Stamps. For the background, I die-cut a tone-on-tone frame, using our Stitched Rectangle Dies which I stamped with the tree branches with a pale pink ink only a couple shades darker than my cardstock for a really classy, subtle backdrop.
I stamped and die-cut the retro "Merry Christmas" greeting from the Bells & Baubles set using Gina K. Red Hot Ink. I love using this red for sentiments because this particular red doesn't stain my photopolymer stamps which is a rare feat when it comes to red ink. Lastly, I scattered some pale Pink Spinel Jewels in an odd number to form a visual triangle, guiding the viewer's eye through the card and adding a bit of extra weight to the right side of my card.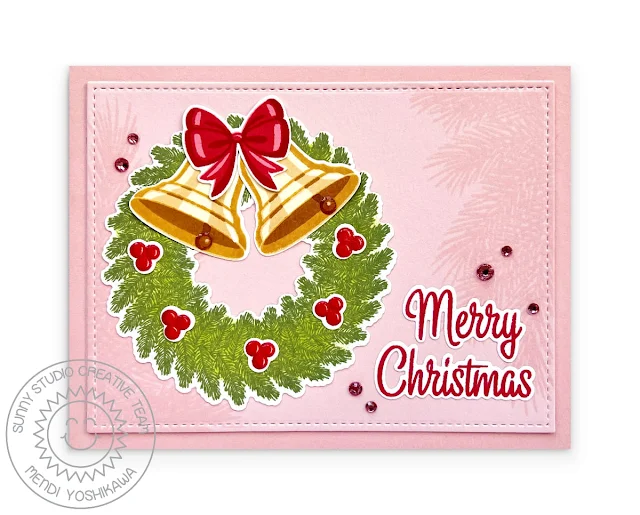
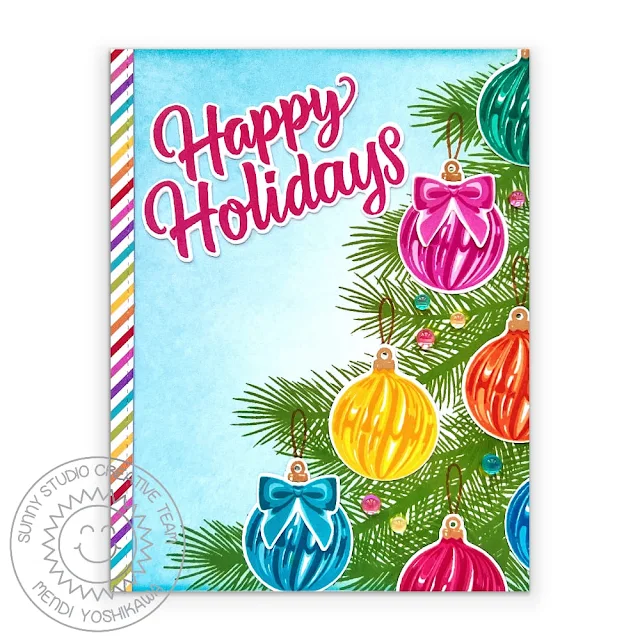
Card No. 3: This holiday card focuses on the vintage glass ball and bow images from the Bells & Baubles Stamps which I stamped in a rainbow of colors. I took inspiration from a card I had previously created a number of years ago using our Holiday Style Stamps, borrowing the tree branch & ornament hangers from that set to create my Christmas tree down the left side of my card. I inked up my background using Broken China Distress Ink, fading it towards the center to give the appearance of glowing lights. To balance out the left side of my card, I added a thin strip of rainbow-striped patterned paper from our Rainbow Bright Paper pack which I trimmed with the stitched edge using the stitched die from our Ribbon & Lace Border Dies. I stamped my "Happy Holidays" greeting using Versafine Clair Glamous Ink using our Holiday Greetings Stamps and added our Colorful Drops scattered throughout the tree as my string of lights. These are such beautiful glass embellishments with painted bottoms that look so gorgeous the way they catch the light!
Card No. 4: Next up is a card, combining the bell, bow, tree branch and "Merry Christmas" greeting from Bells & Baubles Stamps, with the poinsettia and leaves from our new Pretty Poinsettia Stamps.
Last year I designed this same poinsettia on a tiny scale for our Winter Wreaths Stamps and I realized when I was using it how easy it was to layer and use even despite its tiny size so I knew I had to create a larger version to enjoy this year. I love how this set comes with a beautiful layered flower, leaves, and a gorgeous script greeting all for the price of a 3x4 stamp set--So much bang for the buck! Another plus is the flower looks unique enough that you can rotate it in a variety of different directions to look like a different flower image when grouped together in a floral arrangement.
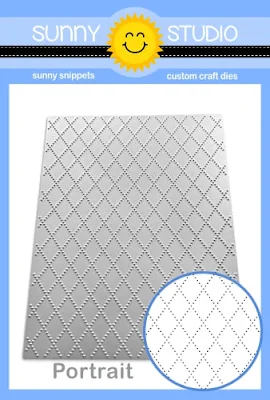
I inked up the new Dotted Diamond Portrait Die, masking off the edges and blending the center with Worn Lipstick and Kitsch Flamingo Distress Inks. I was able to hide the transition between the inked and uninked portions by adding a stitched scalloped frame from our Fancy Frames Rectangle Dies. I finished my card by "hanging" my bell using some metallic gold thread and added a Gold Jewel to my bell to provide a little extra interest.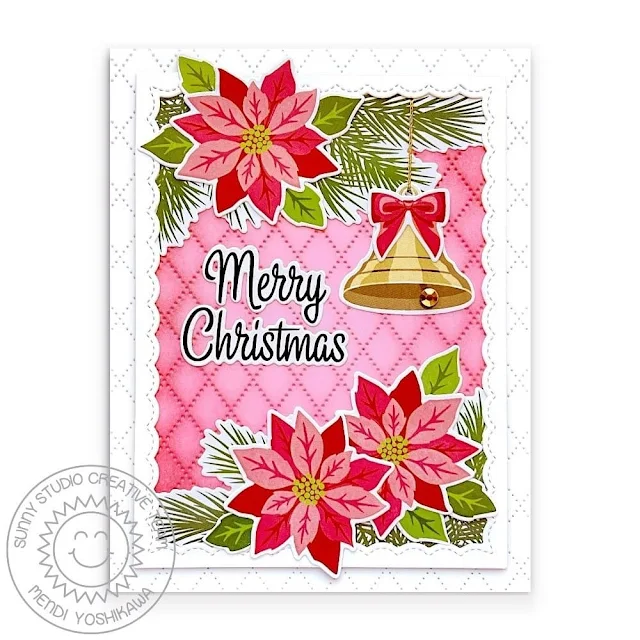
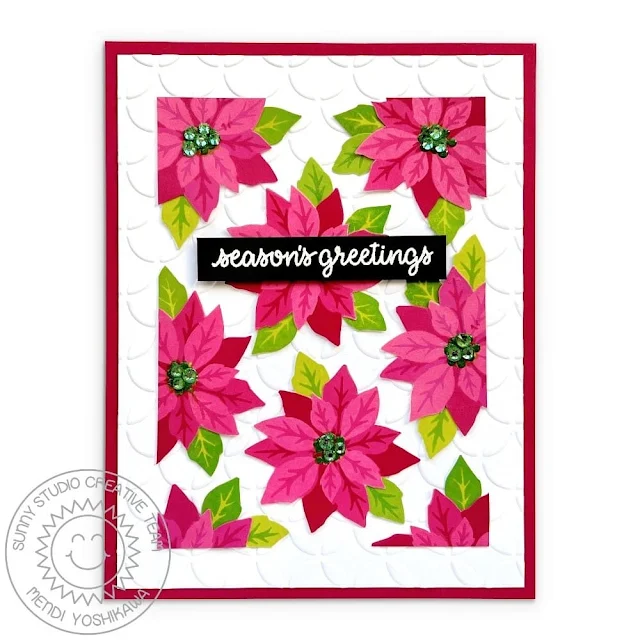
Card No. 5: For my next Pretty Poinsettia Card, I started by embossing my white cardstock background using our Moroccan Circles Embossing Folder. I then trimmed it down to 4" x 5.25" to mount it onto my A2 card base cut from red cardstock. I loosely arranged my poinsettias in the center and used a pencil and ruler to mark where to trim them one by one. I then used the extra portions from two of the flowers to form my bottom two corners.
These flowers were actually my boo-boos that I stamped when trying to get my stamp layers perfected while setting them up in my MISTI tool. Rather than throwing them away, I just fussy cut them out with my scissors, added some dots of Ranger green enamel to the center to hide where they didn't line up, and then used the enamel medium to act like glue to adhere my Peridot Green Jewels. I love when I can salvage images that didn't go as planned to still create a beautiful project. The adage that "there is no such thing as mistakes, just opportunities to embellish" is so true! I completed my card by heat embossing the "season's greetings" phrase using a greeting from our Inside Greetings Holiday Stamps.
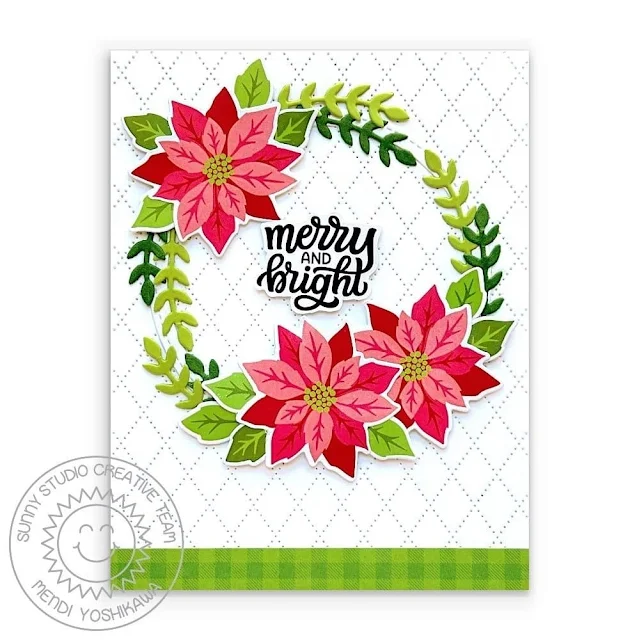
Card No. 7: While I had the Pretty Poinsettia Stamps and Winter Greenery Dies out on my desk, I made another card with them showcasing a completely different look. This time I stamped the poinsettias using pink inks, grouping Gold Jewels in the centers. I used our Dotted Diamond Landscape Dies to add the pierced texture to my navy cardstock background and then used an extra piece of the navy cardstock to cut a stitched scalloped mat using our Mini Mat & Tag 1 Dies, adding foam tape between the two layers to make them stand out better. I then heat embossed my Merry Christmas sentiment using our Holiday Greetings Stamps and Hero Arts Brass Embossing Powder. I used the Winter Greenery dies to cut out coordinating sprigs using metallic gold cardstock. Lastly, I added some Pink Spinel Jewels to fill in some of the bare spaces between my flowers. I adore this non-traditional color palette for a Christmas card!
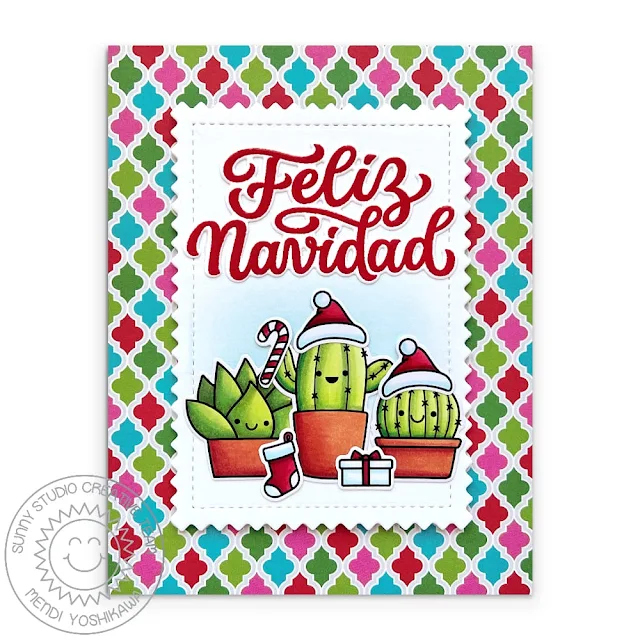
My background was created by Inking the surface of our Buffalo Plaid Embossing Folder, using a brayer roller with Versafine Onyx Black Ink. Pigment ink is the ideal ink because it's sticky enough to stick to the slick plastic surface of the folder. I then carefully took a wet Q-Tip to all the recessed areas that might have got some of the ink which shouldn't have before gently laying my red cardstock down, closing the folder down onto it tightly, and making sure it didn't slip or shift while moving it to my die-cutting machine to make the impression.
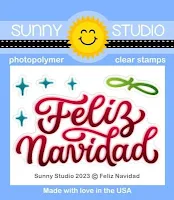
Afterward, I trimmed down my red cardstock panel and added the black stitched ribbon and eyelet lace border using our slimline style Ribbon & Lace Border Dies to the bottom edge of my card. Lastly, I stamped my greeting using our new Feliz Navidad Stamps using that same Versafine ink which I heat embossed with Hero Arts Ultra Clear Fine Embossing Power before die-cutting them out with the coordinating Feliz Navidad Dies.
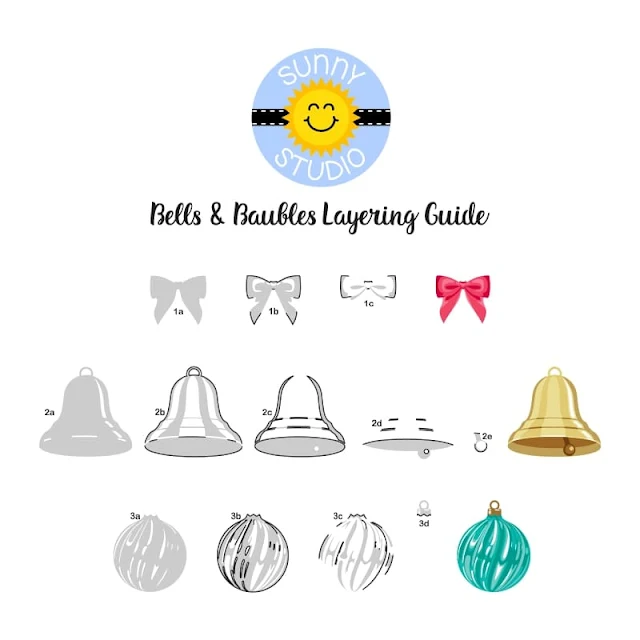
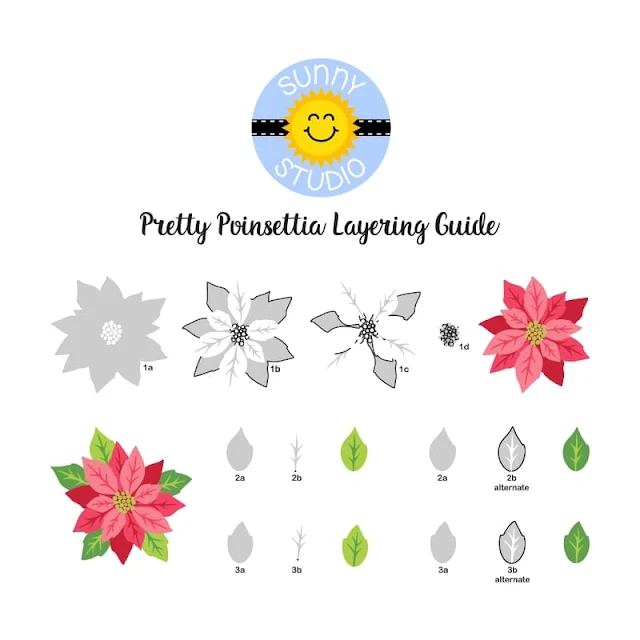
To help you line up our layered stamps I've created a special layering guide (you can click on the photo below to view it larger). The guide shows the stamps starting with the lightest ink color, working towards the darkest, but sometimes I find it easier to start backward when setting up my layers. They both work depending on what your preference is. The black outline indicates where that layer touches the previously stamped layer.
I frequently am asked which ink colors I used for my layered images. While I think there are so many great options out there, these are the colors I used today for my stamped images from light to dark. Since I ran out of time and not all of the stamped images I created ended up making it onto today's cards, I took a photo of them that correlate with the letter added below in parentheses.
Pink Poinsettia & Bow (A)
Altenew Frosty Pink
Hero Arts Cotton Candy
Hero Arts Azalea
Hot Pink Bow & Bauble (B)
Gina K Bubblegum Pink
Versafine Clair Charming Pink
Gina K. Passionate Pink
Red Poinsettia, Bow & Bauble (C)
Hero Arts Grapefruit (or Gina K. Peach Bellini for a slightly lighter version)
Gina K. Lipstick
Gina K. Coral Reef
Ruby Red Poinsettia, Bow & Bauble (D)
Gina K Medium Carnation
Versafine Clair Glamorous
Altenew Ruby Red
Green Leaves & Bauble (K)-Using various combinations of the two nearest colors to each other
Gina K. Key Lime
PinkFresh Studio Grassy Knoll
PinkFresh Studio Key Lime
Gina K. Lucky Clover
Aqua Blue Bow & Bauble (E)
Gina K. Ocean Mist
Versafine Clair Warm Breeze
Gina K. Tranquil Teal
Aqua Green Bow (F)
Concord & 9th Aqua Sky
Altenew Lagoon
Concord & 9th Oceanside
Emerald Green Bow & Bauble (G)
Altenew Volcano Lake
PinkFresh Studio Mermaid Cove
Altenew Emerald
Silver Bell (H)
Ranger Archival Shadow Grey
Hero Arts Soft Granite
VersaFine Clair Morning Mist
Hero Arts Charcoal
VersaFine Clair Nocture or VersaFine Onyx Black
Bronze Bell & Bauble (I)
Gina K. Sandy Beach
Hero Arts Sand
Gina K. Kraft
Concord & 9th Wheat
Hero Arts Cup O' Joe
Yellow Gold Bell & Bauble (J)
Altenew Buttercream
Gina K. Sweet Corn
Hero Arts Spicy Mustard
Hero Arts Fawn
Hero Arts Caramel
Ornament Bauble Hanger
Hero Arts Caramel
Basket (Card No. 8)
Hero Arts Soft Sand
Gina K. Sandy Beach
Concord & 9th Wheat or Gina K. Kraft
Hero Arts Cup O' Joe
That wraps up today's sneak peeks. I'm so happy you spent part of your day with me today. I read all your comments and they mean so much! I'd love to give a $25 gift code to one lucky winner using the Rafflecopter below.
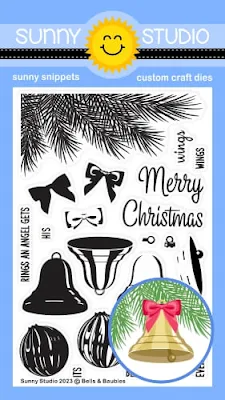
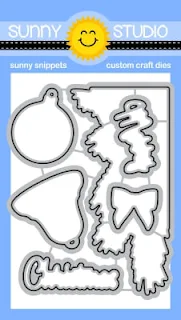
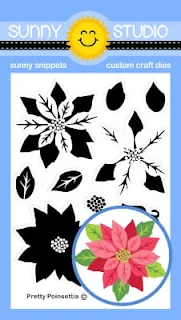
Here's a closer look at our new Bells & Baubles Stamps & Dies, Pretty Poinsettia Stamps & Dies, Feliz Navidad Stamps & Dies, Dotted Diamond Portrait Dies, and Dotted Diamond Landscape Dies used today (which will be available to purchase starting on August 25th):
 Looking Sharp Stamps Shop at: Sunny Studio |
 Looking Sharp Dies Shop at: Sunny Studio |
 Stitched Rectangle Dies Shop at: Sunny Studio |
 Memento Tuxedo Black Ink Pad Shop at: Sunny Studio |
|
 Versafine Onyx Black Ink Shop at: Sunny Studio |
 Fancy Frames- Rectangles Shop at: Sunny Studio |
 Moroccan Circles Embossing Shop at: Sunny Studio |
 Buffalo Plaid Embossing Shop at: Sunny Studio | |
 Santa Claus Lane Stamps Shop at: Sunny Studio |
 Santa Claus Lane Dies Shop at: Sunny Studio |
 Inside Greetings-Holidays Shop at: Sunny Studio |
 Layered Basket Stamps Shop at: Sunny Studio | |
 Layered Basket Dies Shop at: Sunny Studio |
 Winter Greenery DIes Shop at: Sunny Studio |
 Holiday Greetings Stamps Shop at: Sunny Studio |
 Holiday Greetings Dies Shop at: Sunny Studio | |
 Penguin Party Stamps Shop at: Sunny Studio |
 Penguin Party Dies Shop at: Sunny Studio |
 Winter Wreaths Stamps Shop at: Sunny Studio |
 Winter Wreaths Dies Shop at: Sunny Studio | |
 Mini Mat & Tag 1 Dies Shop at: Sunny Studio |
 Mini Mat & Tag 4 Dies Shop at: Sunny Studio |
 Joyful Holiday Paper Shop at: Sunny Studio |
 Ribbon & Lace Dies Shop at: Sunny Studio | |
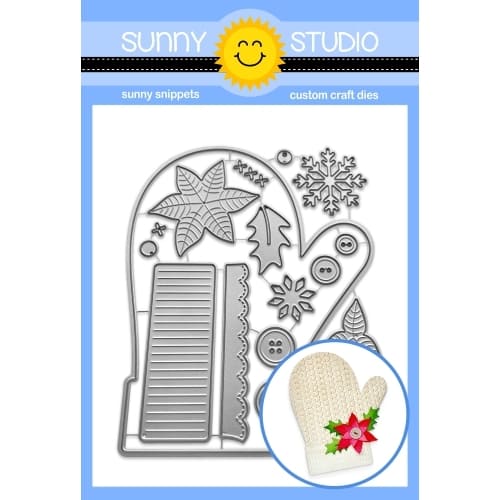 Woolen Mitten Dies Shop at: Sunny Studio |
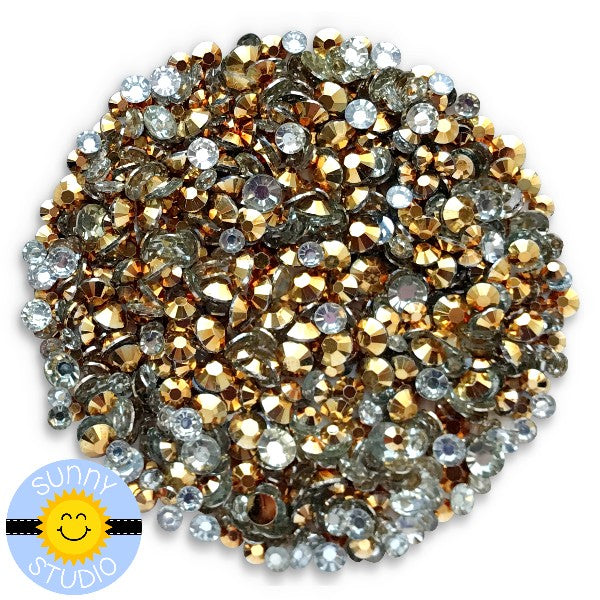 Gold Jewels Shop at: Sunny Studio |
 Rubellite Pink Jewels Shop at: Sunny Studio |
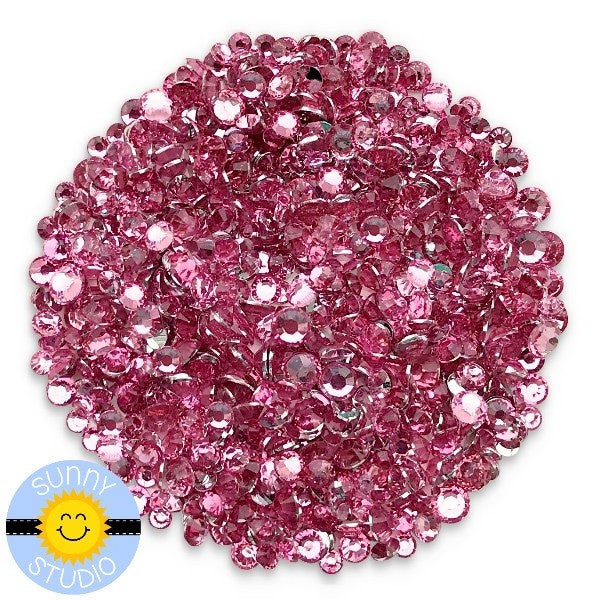 Pink Spinel Jewels Shop at: Sunny Studio | |
 Peridot Green Jewels Shop at: Sunny Studio |
 Aquamarine Jewels Shop at: Sunny Studio |
 Brass Embossing Powder Shop at: Sunny Studio |
 Hero Arts White Detail Shop at: Sunny Studio | |
 Tsukineko Jumbo Dauber Shop at: Sunny Studio |
 VersaMark Watermark Ink Shop at: Sunny Studio |
 Ranger Glossy Accents Shop at: Sunny Studio |
 Multi Medium Matte Shop at: Sunny Studio |
|
 Holiday Style Dies Shop at: Sunny Studio |
 Holiday Style Stamps Shop at: Sunny Studio |
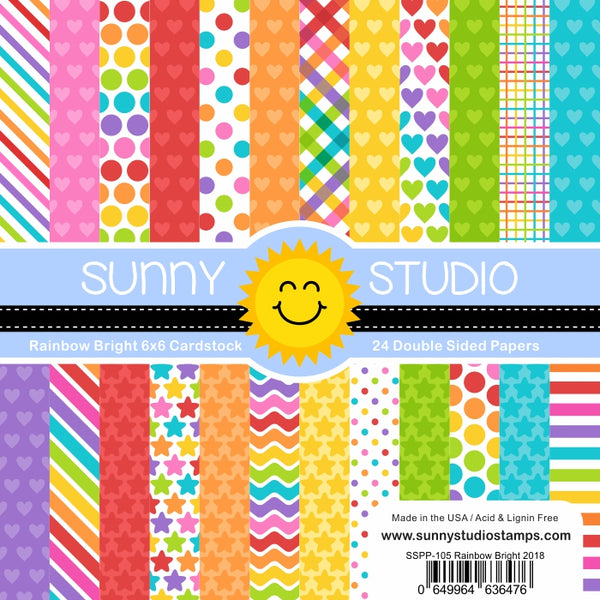 Rainbow Bright 6x6 Paper Shop at: Sunny Studio |
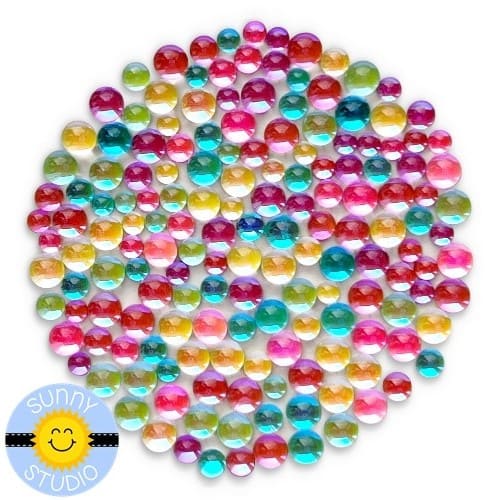 Colorful Drops Shop at: Sunny Studio |
|
 Stitched Circle Small Dies Shop at: Sunny Studio |
 Stitched Circle Large Dies Shop at: Sunny Studio |






I like to keep my holiday decorations up until after the new year.
ReplyDeleteI keep my decorations up until the week after new years. the house always looks so empty when everything is put away!
ReplyDeleteThese are beautiful. I love that there is a landscape version of the dotted diamond background. I keep my decorations up until the first weekend after New Years.
ReplyDeleteI like to get them down as soon as possible after new year's day.
ReplyDeleteLove that Bells and Baubles set.
ReplyDeleteThey are usually up till Valentine's Day as we are quite slow taking them down.
ReplyDeleteGorgeous baubles and poinsettias!!! I leave my holiday decor up until January 1st then I transfer to Valentine's Day
ReplyDeleteLove all the bright colors on the cards! I leave my decorations up until about mid-January.
ReplyDeleteYour layered stamps are incredible! Gorgeous array of cards!
ReplyDeleteWe leave our decorations up until New Years.
~carol
I love the bells and baubles! The ornaments remind me of ones we had when I was a kid. So pretty! I like to keep my holiday decorations up until January 6. It's always sad to put them away for another year.
ReplyDeleteLovely stamp sets and the dies are really pretty! I start taking my Christmas decorations down after New Year's starting with the outside. That way I can do the inside at my leisure.
ReplyDeleteAbsolutely gorgeous cards. The navy blue and pink (card 7) is stunning!! I love layered stamps and thank you for showing the colors you use.
ReplyDeleteI typically keep up the Christmas decorations until the first weekend in January. The house feels depressing after all the decorations are taken down.
Love christmas ornaments! We used to decorate a mini christmas tree at my aunt’s place but now i only have a few christmas decorations around the house! Christmas all the way to the New Year!
ReplyDeleteSince we also have a restaurant that needs to be decorated, I don’t do anything at home. I take it down at the restaurant right after NY’s.
ReplyDeleteThese cards are so festive. I particularly like #6 with the wreath.
ReplyDeleteThese new items look amazing. The cover plate dies are fantastic and I love the bells/ornaments.
ReplyDeleteLori S in PA
I really love the dotted diamond dies!
ReplyDeleteYou have such beautiful layering stamps and the guides are really helpful! We usually leave our holiday decorations up until the first weekend of January - hate to take them down!
ReplyDeleteI spend the week after New Year's Day gradually putting the decorations away.
ReplyDeleteIt really depends on how I feel. Typically, I take down the holiday decorations after the New Year before the kids go back to school.
ReplyDeleteLove the baubles!
ReplyDeleteBeautiful designs! Love the bells and bauble, and the poinsettias are gorgeous!
ReplyDeleteI tend to put up decorations pretty late, so I am in no hurry to take them down. I usually leave them up til Little Christmas, January 6th.
I keep my decorations for about 2 weeks after Christmas :)
ReplyDeleteLovely sets! I keep the decorations up until Epiphany at least (Jan 6) and usually it takes a bit longer than that to get everything all organized and put away!
ReplyDeleteI love layering stamps! The poinsettias are beautiful!
ReplyDeleteI love the movie It’s a Wonderful Life.” Fantastic bells and ornaments. My favorite is the poinsettias with the button centers. All the cards are so festive!
ReplyDeleteI love the ink guide - so appreciated! Another fantastic day of new product shares.
ReplyDeleteI like the various layering stamps you've made, like the bells + bows 🎀 of this new set. It gives your designs a greater 3-D effect with subtle shading/highlights to each stamp.
ReplyDeleteI still don't understand where the questions/polls are each day. UGH! Anyway, we keep our decor up for most of the winter season. 1) Getting the supplies out & up each year requires a healthy/tall person to pull down the boxes that hold all our goodies. Hard to do with both of us needing walkers/oxygen tank even to stand and hubby slowly dragging his right side of his body across our small condo. Plus, that would also mean putting our way again. Very tiring for both of us. 2) Our goodies are usually generic 'Winter' symbols. ❄️Snowflakes/people☃️, gingerbread people, pinecones, white lights, red bows, etc. They add wonderful ambiance during our snowy nights. Last year though, we didn't put anything up because we were just too 'unable' to do it and I didn't want to keep bugging our local friends to help out any more than they already are. Sad, but we know that kind of thing is part of our "New Normal."
BUT, your stamps & other pretties always make me 🤗smile and that makes my day! (even if I don't feel like I can make a full set of cards with them right now. Someday???)
Keep up the good work! 👍
Fantastic Christmas line!
ReplyDeleteSherry Storjohann
I leave my holiday decorations up until Epiphany. Love this set!!
ReplyDeleteAnother wonderful day of projects!
ReplyDeleteI try to get our holiday decos up by the first week in December, then take them down soon after New Year's Day. My husband likes to keep them up until Jan. 6/Epiphany, so if I need his help, I have to wait for him. (But sometimes I just box them up and HE carries everything up to storage!) ;-)
Love these sneak peeks! The baubles, poinsettias and cacti are delightful! Great cards!!! Thanks for the layering guides AND the inspiration :) I leave my decorations up until at least after the first of the year and sometimes till the first of February.....really helps with the dreariness of weather!
ReplyDeleteI usually take down my decorations around the first week of January. Depends on when New Years Day falls that year. Thanks for all the inspiration, too!
ReplyDeleteLOVE these cards! The color choices are beautiful and really show how versatile the set is!
ReplyDeleteA short time. Right after Christmas I take down the decorations. I love your bells!
ReplyDeleteLove your layering stamps! Those Bells & Baubles are AMAZING!!!
ReplyDeleteI have been wanting to try layering stamps.
ReplyDeleteLove your layering stamps esp. the baubles & bells. All the cards are beautiful.
ReplyDeleteI'm not sure if I'll be decorating this yr. but I normally would take them down on
6 of Jan.
Decorations go up the day after Thanksgiving and come down before New Years Day.
ReplyDeleteLovely cards. I leave mine
ReplyDeleteup till after New Year's Day.
Carla from Arizona
Great layering stamps-3 weeks decorations are up.
ReplyDeleteThose baubles are so beautiful! Card number 7 is so stunning! Love the dark background! Another great day of inspiration.
ReplyDeleteChristmas decorations come down January 1st.
ReplyDeleteI don't know how you do it, but these layering stamps are AMAZING and look so realistic and gorgeous! Wow! So impressive! Our decorations stay up for about a week, but the handmade cards I receive will stay on display until at least the end of February.
ReplyDeleteBeautiful cards... love the layering stamps..... I usually keep decorations up until that January 1st......
ReplyDeleteVery nice cards. I take everything down right after Christmas, if I am at home to decorate. We usually travel for Christmas so I haven't decorated at home for a few years!
ReplyDeleteI take down the decor the first week of January.
ReplyDeleteLove the baubles! I always take mine down right after Christmas before New Years
ReplyDeleteThe cards are beautiful. Lots of great ideas!
ReplyDeleteSuch lovely cards! I take my decor down around New Years
ReplyDeleteWow. Wonderful. I like to get them down few days after new year's day.
ReplyDelete