Hello
everyone, Anja here and today
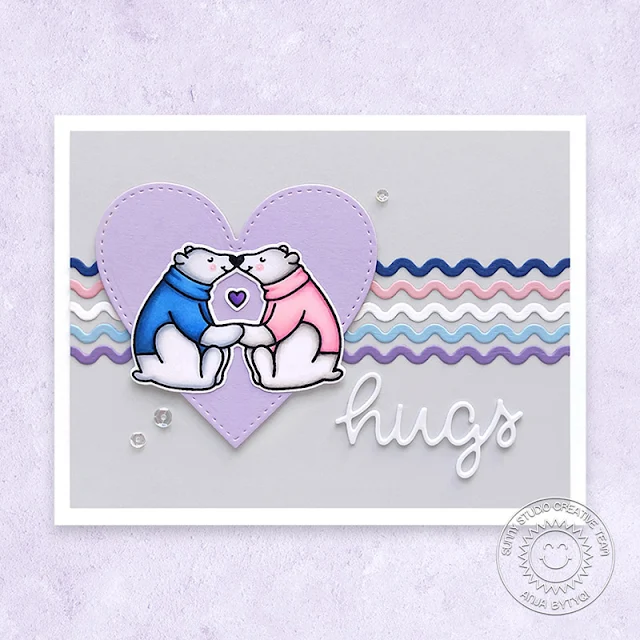
I have a love and winter themed card for you showing you how you can use
the Icicle Border Dies as
accents on your project. I die cut the ric-rac border from five colors of
cardstock to create a repeating design element in the background.
I started off with a white A2 card base and trimmed down a light grey cardstock panel to be 3/16 inch smaller on each side. Next, I adhered the ric-rac borders with liquid glue and cut off the excess. I also die cut one of the Stitched Hearts from lavender cardstock. For a bit of dimension, I popped it off with foam tape.
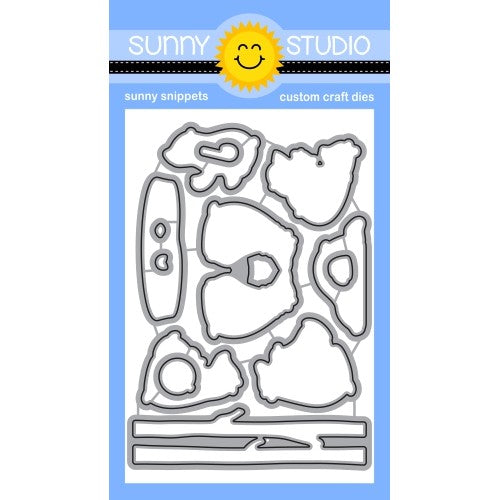
I love the versatile Bear Hugs Stamps and picked the adorable polar bear couple as well as a little heart. I stamped the images in Memento Tuxedo Black Ink and colored them with Copic Markers. I used the coordinating die to cut out the bears. The heart was fussy cut with scissors. I adhered the images in the middle of the heart die-cut.
The scripty word 'hugs' is included in the Scalloped Oval Mats 3 Dies set and I cut it three times from white cardstock. I stacked the die cuts on top of each other and adhered it to the card. Finally, I added three clear sequins.
Thank you so much for stopping by!
--------------------------------------------
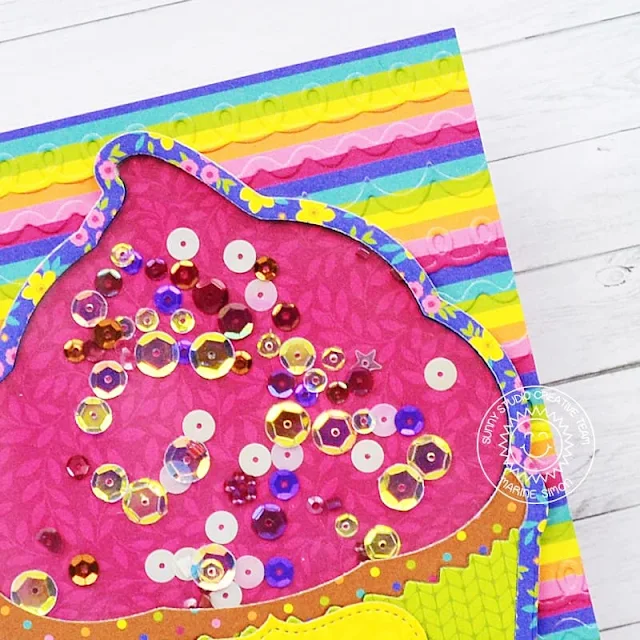
Hey friends, Marine here, I'm so happy to be back on the blog with this shaker card showcasing some brand new products: the Icing Borders die set, the Thank You Words die set, as well as some autumnal pattern papers from the gorgeous Sweater Weather 6x6 paper pack.
I picked up a floral pattern paper to be the frame of my cupcake, and cut a plain cupcake using the biggest die from the Cupcake Shaped die set. Next I used the second cupcake die to cut my frame: I placed and taped it in the center of the plain cupcake, and sent it to my die cutting machine to get my floral frame.
Next I cut
additional elements: three cupcake pieces out of pattern papers: a dark pink
icing piece, a brown piece to make the cake and a green piece to make the
cupcake liner, as well as a plain cupcake out of acetate to create the window
of my shaker, and another one out of navy blue cardstock to be the base of the
cupcake.
I temporarily
taped the floral frame on top of the navy blue base and I attached the dark
pink icing part on the cupcake base by tucking it right up against the frame.
Next I attached the floral frame to the plain acetate cupcake to create the window, and on the front of this window, I attached the two remaining pieces of cupcake: the cake piece and the cupcake liner.
At the back of the window panel, I applied thin strips of foam tape on the edges. And all along those foam strips I applied powder, this way the sequins won't stick to the foam.
Next I poured a sequin mix on the cupcake base,
right on the dark pink icing section, and then stuck my window panel on top of
the cupcake base to close the shaker.
I created a custom background using the Icing Border dies. I
used those dies and a striped pattern paper from the Sweater Weather 6x6 paper pack to
cut lots of icing shapes. I cut a panel out of the same striped pattern paper,
and I glued each icing shape on top of the panel in a way that the panel and
borders would be coordinated.
I filled the entire panel with icing borders, trimmed off the edges and stuck the panel to a pink card base, and then I attached my giant shaker cupcake on my custom background using liquid glue.
Next I cut two banners: one
out of a yellow pattern paper using a die from the Sliding Window die set and
one out of a blue pattern paper using a die from the Stitched Rectangles die set.
I attached those banners on top of each other on the bottom section of the
cupcake, and finally I cut the word 'Thanks' out of gold mirror cardstock
and stuck it on top of the banners.
And that's it. this is the final result. I hope this shaker cupcake will inspire you to make your own version, maybe a holiday cupcake with some pretty Christmas themed papers or a birthday cupcake with rainbow papers? Depending on the papers you use, the possibilities are endless. I leave you with the video right below, and wish you an amazing day. See you next time!
Sunny Studio Supplies Used:
 Stitched Heart Dies Shop at: Sunny Studio |
 Cupcake Shape Dies Shop at: Sunny Studio |
 Stitched Rectangle Dies Shop at: Sunny Studio |
 Bear Hugs Stamps Shop at: Sunny Studio |
 Bear Hugs Dies Shop at: Sunny Studio |
 Thank You Words Die Shop at: Sunny Studio |
 Icing Border DIes Shop at: Sunny Studio |
 Sliding Window Dies Shop at: Sunny Studio |
 Scalloped Oval Mat 3 Dies Shop at: Sunny Studio | |
 Sweater Weather Paper Shop at: Sunny Studio |


No comments:
Post a Comment