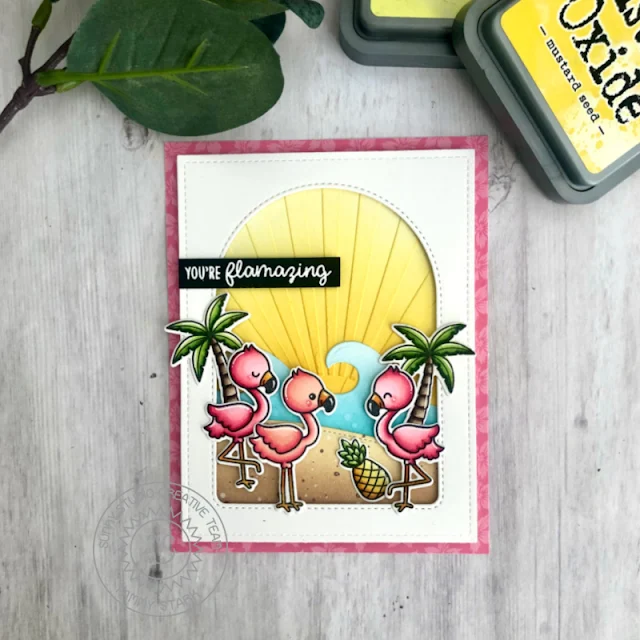
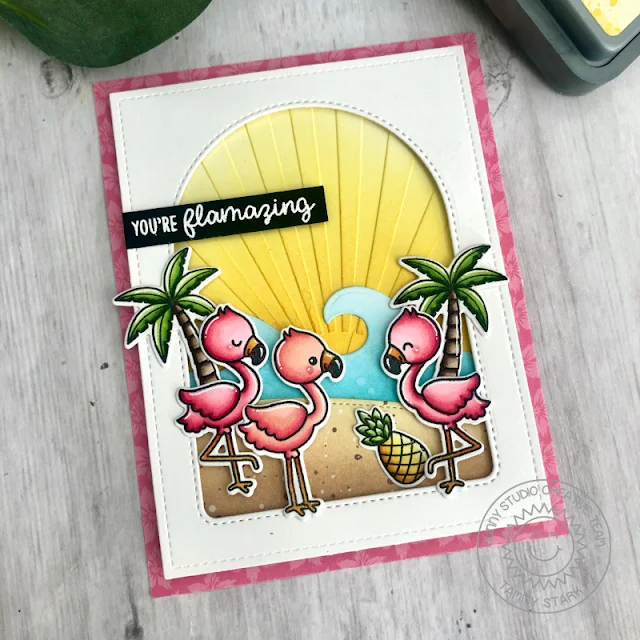
Hi there! Tammy here sharing this fun summer inspired card, featuring the Sunburst Embossing Folder. I just love the dimension and texture it adds to a card, and when combined with the Fabulous Flamingos Stamps, it makes for a perfect backdrop for these cuties!
To begin, I embossed a piece of Bristol cardstock using the Sunburst Embossing Folder. I then ink blended it with Mustard Seed and Squeezed Lemonade Distress Oxide inks to create a bright, sunshiny background for the flamingos. Next, I die cut white cardstock using the Stitched Rectangle Dies, cutting out a window with the Stitched Arch Dies.
I cut a sandy
border and ocean wave border using the Slimline Nature Borders Dies,
ink blended them with Distress Oxide inks, then attached them to the Sunburst
inked panel. I then attached the white window frame over the inked background
using foam tape for dimension.
Next, I stamped,
colored with Copic markers, and die cut images from the following sets:
Fabulous Flamingos Stamps/ Coordinating Dies
Tropical Scenes Stamps/ Coordinating Dies
I arranged the stamped images onto my card, attaching some with foam tape for dimension. Lastly, I white heat embossed the sentiment onto a black cardstock strip then attached my card front to an A2 piece of patterned paper from the Summer Splash Paper to complete my card.
Thanks so much for stopping by! Have a wonderful weekend!
-----------------------------------------------------
Hello crafty friends! It's Candice with you this week continuing to
share inspiration using the wonderful embossing folders from Sunny Studio
stamps!
I used these Sunny Studio products to create my design:
- Garden Fairy stamps & coordinating dies
- Buffalo Plaid Embossing Folder
- Scalloped Circle Mat 1 dies
- Stitched Circle Small dies
- Slimline Scalloped Frame dies (hello)
- Stitched Rectangle dies (stitched
banner)
- Aquamarine jewels
I began my card
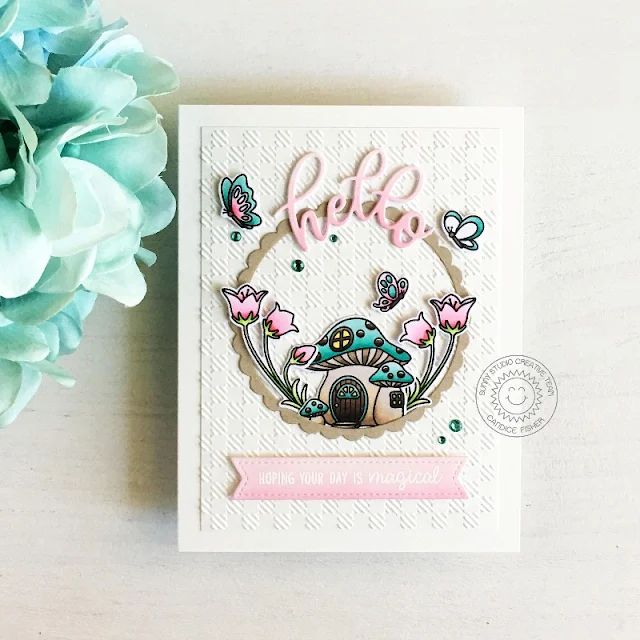
with a 6 1/2 x 5 card base. For the background, I trimmed a piece of Bristol
Smooth to fit smaller than the card base and ran it through my machine with
the Buffalo Plaid embossing folder.
Next, I stamped the mushroom house, flowers, and butterflies, colored them with Copic markers and used the coordinating dies to cut them out. I then created the scalloped frame using the circle dies listed above from Kraft cardstock. I glued the frame down, tucked the mushroom house and flowers in gluing the bottoms and using foam tape on the top of the flowers for dimension. I inked a piece of Bristol Smooth with kitsch flamingo and spun sugar, die cut it from the 'hello' and layered it on top of the frame. I finished my card with the sentiment heat embossed in white on the stitched banner inked with the kitsch flamingo and spun sugar and sprinkled a few blue jewels around!
Thank you so
much for stopping by today!
Sunny Studio Supplies Used:
 Stitched Rectangle Dies Shop at: Sunny Studio |
 Sunburst Embossing Shop at: Sunny Studio |
 Fabulous Flamingos Stamps Shop at: Sunny Studio |
 Fabulous Flamingos Dies Shop at: Sunny Studio |
 Summer Splash 6x6 Paper Shop at: Sunny Studio |
 Buffalo Plaid Embossing Shop at: Sunny Studio |
 Tropical Scenes Stamps Shop at: Sunny Studio |
 Tropical Scenes Dies Shop at: Sunny Studio |
 Stitched Arch Dies Shop at: Sunny Studio | |
 Slimline Nature Borders Shop at: Sunny Studio |
 Slimline Scalloped Frame Shop at: Sunny Studio |
 Garden Fairy Stamps Shop at: Sunny Studio |
 Garden Fairy Dies Shop at: Sunny Studio | |
 Scalloped Circle Mat 1 Dies Shop at: Sunny Studio |
 Stitched Circle Small Dies Shop at: Sunny Studio |


No comments:
Post a Comment