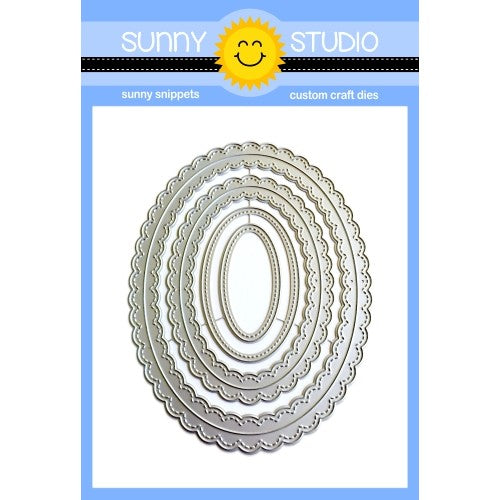
I began by die cutting the large scallop oval from white
cardstock using the Fancy Frame Oval die set. I used the same die to cute a
double sided foam adhesive sheet to use as the shaker box frame. Since I didn't
have an oval die the correct size, I freehand drew an oval onto a scrap of
paper using the Fancy Frame Oval as a template. I trimmed it down to size and
then used this as a template to cut a piece of acetate to cover the window on
the frame. I also used this same template to cut another oval from a piece of
cardstock. I used this as the background and backer for the shaker. Once all of
the cutting was complete, I applied Distress ink in Abandoned coral to the oval frame and Mermaid Lagoon to the background oval using a foam blending brush.
I knew I wanted to create an underwater scene so I stamped the mermaid, turtle and other images with Versafine ink onto Bristol. I then colored them using Zig Clean Color Real Brush and added details with Chameleon Pens. Once the parts for the scene were completed, I adhered them to the background piece.
To assemble the shaker, I adhered the acetate to the backside of the cardstock frame. I then adhered this to the die cut foam piece. Next, I took the background piece with the underwater scene and carefully poured some sequins and jewels in the center of this piece. I then adhered the frame piece on top of this to complete the shaker. You can also fill the frame with the sequins, but I always find it to be more difficult to line up the pieces when I do it that way. My solution has been to pour the sequins on top of the back piece.
I hope you enjoyed learning about how to create an underwater shaker card using the Magical Mermaids stamp set, Oceans of Joy stamp set and Fancy Frames Oval die set. Thanks so much for swimming by today!
Sunny Studio Supplies Used:
 Magical Mermaid Dies Shop at: Sunny Studio |
 Magical Mermaid Stamps Shop at: Sunny Studio |
 Oceans of Joy Dies Shop at: Sunny Studio |
 Oceans of Joy Stamps Shop at: Sunny Studio |
 Fancy Frames- Ovals Shop at: Sunny Studio |


