Friday, December 2, 2016

Gleeful Reindeer Money Pockets by Lexa

Hello crafty friends! Lexa here with another idea using Gleeful Reindeer stamp and it's coordinating dies. One of my friend asked me to make her some money pockets in Christmas theme, I was thinking why not..so today I will show you the result.


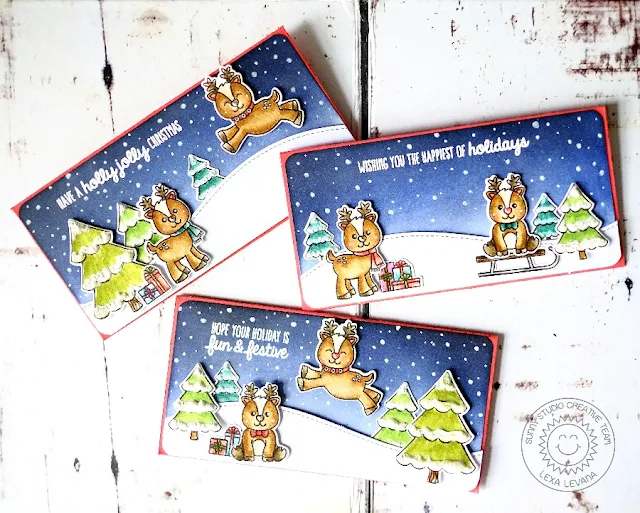
Sunny Studio Stamps: Gleeful Reindeer Money Pocket Christmas cards by Lexa Levana.

Each pocket is sized 3" x 6" so it will fit the money perfectly (in this case I measured the money first to decide the envelope size) I used red cardstock and stamped a reindeer head and some snowflakes from Christmas Icons using tone on tone technique so it's not over the top. I stamped all my images with versafine black ink and watercolored them with Distress Markers. I was thinking I would like to create a little scene for the back panel of my envelope. I started with a piece of white smooth cardstock and blended some Chipped Sapphire and Black Soot Distress Inks for the night sky. 

Sunny Studio Stamps: Gleeful Reindeer Money Pocket Christmas cards by Lexa Levana.

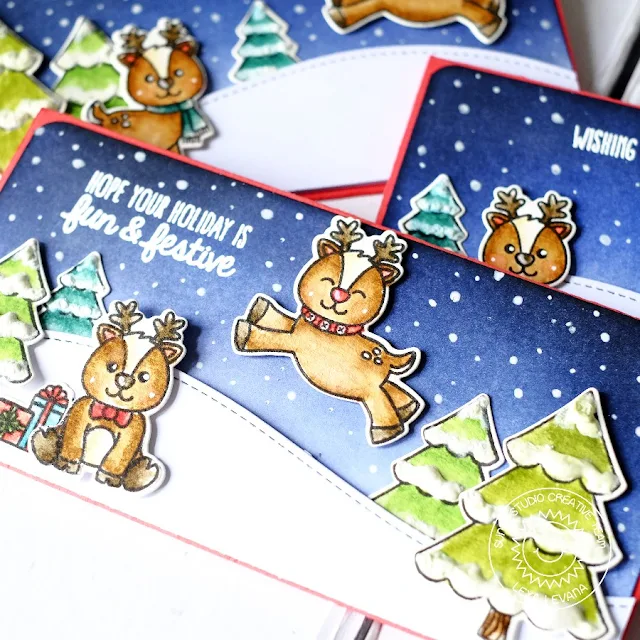
Next I put all the pieces together.  The magic snow marker is always perfect for a snow effect on the trees. It gives you extra dimension, so puffy and cute. I also created falling snow with a white gel pen. It's super easy, quick and adorable. Here's a closer look at today's project.

Sunny Studio Stamps: Gleeful Reindeer Money Pocket Christmas cards by Lexa Levana.

I hope you all like it.  Thank you so much for stopping by today. Have a wonderful day! 

Sunny Studio Supplies Used:


Thursday, December 1, 2016

Blissful Baking Sweet Birthday Wishes Card by Vanessa

Hello everyone!  Vanessa here with a short break from Christmas cards! I used Blissful Baking to create a sweet Birthday card.

Sunny Studio Stamps: Blissful Baking Sweet Birthday Wishes card by Vanessa Menhorn.

I first stamped the images onto a piece of cardstock, colored them with Copics and die-cut them with the matching dies. Then I adhered the bowl, egg, spoon, butter and glove onto the front of my card. I covered the card with vellum and adhered the pie, the topping and the pipe with foam tape. Now I inked a piece of cardstock with pink ink, die-cut the sweet word from it, backed it with another piece die-cut from fun foam and adhered it. I stamped the sentiment onto a strip of aqua cardstock, trimmed it and adhered it underneath the large word. Finally, I added clear sequins.

Sunny Studio Stamps: Blissful Baking Sweet Birthday Wishes card by Vanessa Menhorn.

The smiling face on the pipe is from the Summer Picnic set. I love adding some personality to the cute images :)

Thank you for stopping by today!

Vanessa