Page Tabs

Monday, September 30, 2024

Distinctive Door Die Focused Card with Leanne

Hi! Leanne here and I'm sharing a spooky cute Halloween card today. I have used the Distinctive Door dies to create a haunted house front porch scene. 

Sunny Studio Stamps: Distinctive Door Die Focused Halloween Card by Leanne West (featuring Too Cute To Spook)

This card is A2 size. I started with a black card stock panel and added a light grey panel trimmed a bit smaller. I scored lines 1/2" inch apart on the grey panel to give it the look of siding. I die cut the Distinctive Door pieces from dark grey card stock. Before assembling, I blended on some Black Soot Distress Oxide ink onto all the porch pieces. When I adhered some of the porch pieces, I intentionally made them a little crooked. I thought this reinforced the whole haunted house vibe. 

Copic colors used: orange - YR21, YR12, YR16; purple - V22, V25, V99; green - G43, G46; black - N4, N6; brown E40, E41, E43; rosy cheeks - R20

Sunny Studio Stamps: Distinctive Door Die Focused Halloween Card by Leanne West (featuring Too Cute To Spook)

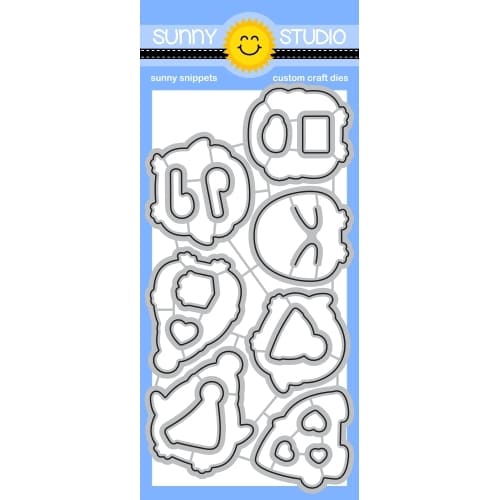
Once I had my haunted front porch assembled, I added some of the adorable images from the Too Cute to Spook stamp set. I Copic colored the images and then used the companion Too Cute to Spook dies to cut them out. To finish this scene, I added webs to the top corners and stamped the trick or trick sentiment directly onto the door. 

Sunny Studio Supplies Used:

Too Cute To Spook Stamps
Shop at:
Sunny Studio
Too Cute To Spook Dies
Shop at:
Sunny Studio
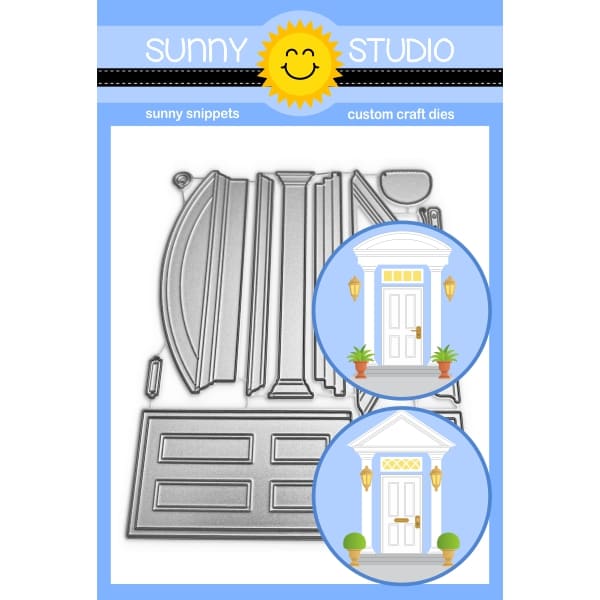
Distinctive Door Dies
Shop at:
Sunny Studio

Sunday, September 29, 2024

Crisp Apple & Punny Apple Greetings Card with Hanh

Hello Crafty Friends! This is Hanh with you today on the Sunny Studio Stamps blog. I have a punny card to share with you featuring the Crisp Apple Die and Punny Apple Greetings from the latest release.

Sunny Studio Stamps: Crisp Apple & Punny Apple Greetings Card with Hanh Nguyen (featuring Stitched Oval Dies, Diagonal Stencils, Brilliant Banner Dies)

Using the Crisp Apple Die, I die cut three apples, leaves and stems out of Bristol Smooth cardstock. To add color, I ink blended them with Candied Apple, Fired Brick and Gathered Twigs Distress Inks and Mowed Lawn Distress Oxide ink. I assembled the apples and highlighted with a white gel pen.

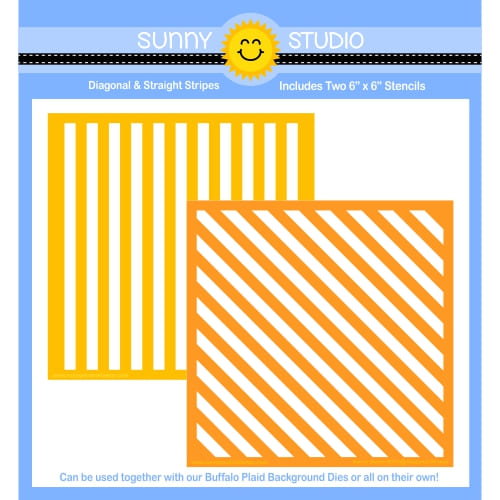
For the background, I took a piece of Neenah Solar White 110 lb cardstock (4.25" x 5.5") and used the Diagonal & Straight Stripes Stencils with some Mowed Lawn Distress Oxide ink to create a gingham pattern. I loved how I was able to create my own matching patterned paper with the same color ink that I used for the rest of the card. 

Sunny Studio Stamps: Crisp Apple & Punny Apple Greetings Card with Hanh Nguyen (featuring Stitched Oval Dies, Diagonal Stencils, Brilliant Banner Dies)

I die cut an oval using the largest die from the Stitched Oval 2 Dies set and Neenah Solar White 110 lb cardstock. I added some craft foam to the back of the oval before adhering the oval to the inked background.

For the sentiment, I used the Brilliant Banner 3 Die to die cut a piece of Bristol Smooth cardstock. I added color to the banner with Mowed Lawn Distress Oxide ink. Once it was dry, I stamped the sentiment from the Punny Apple Greetings onto the banner with Versafine Onyx Black ink. I also used the same stamp set and ink to stamp the word "You're" onto a piece of white cardstock. I trimmed out the word with scissors.

Sunny Studio Stamps: Crisp Apple & Punny Apple Greetings Card with Hanh Nguyen (featuring Stitched Oval Dies, Diagonal Stencils, Brilliant Banner Dies)

I adhered the left and right apples directly onto the oval with liquid adhesive. Foam tape was used to adhere the center apple and banner onto the oval. The "You're" sentiment was tucked above the banner. I adhered the panel to a white card base (4.25" x 5.5") and finished the card with some sparkling clear sequins.

I appreciate you taking the time to stop by and visit today. I hope you liked my card. Be sure to check out the Sunny Studio Stamps Shop for more info and ideas. Please also visit my INSTAGRAM feed for more inspirations.

Have a wonderful and crafty day!

Sunny Studio Supplies Used:

Stitched Oval 2 Dies
Shop at:
Sunny Studio
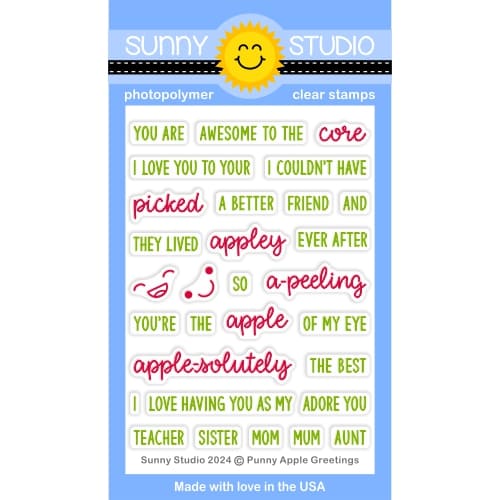
Punny Apple Greetings
Shop at:
Sunny Studio
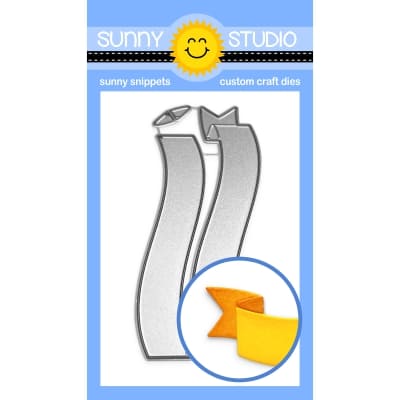
Brilliant Banner 3 Dies
Shop at:
Sunny Studio
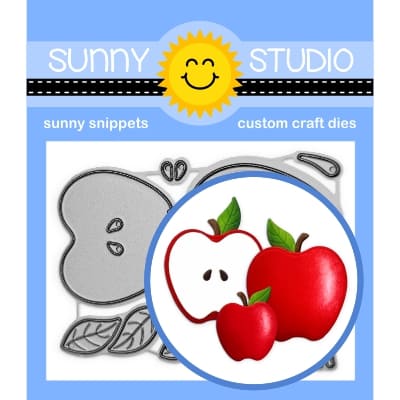
Crisp Apple Dies
Crisp Apple Dies
Shop at:
Sunny Studio
Diagonal & Straight Stripes Stencils
Shop at:
Sunny Studio

Saturday, September 28, 2024

Guest Designer Spotlight: Holiday Cards with Rachel Alvarado

Sunny Studio Stamps: Roly Poly Penguins & Merry Mocha Holiday Cards by Rachel Alvarado

Hello crafty friends! It's Rachel here from RachelAlvaradoDesigns.com. I am thrilled to be back on the Sunny Studio Stamps blog today with two Christmas-themed cards using items from the new release.

Sunny Studio Stamps: Roly Poly Penguins Holiday Cards by Rachel Alvarado (featuring Festive Greetings)

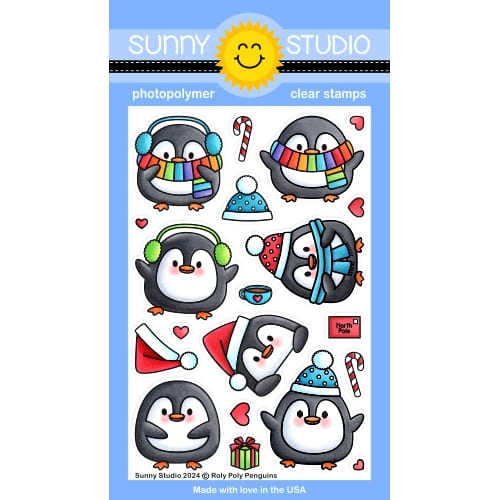
For my first card, I created an 8.5" x 3.5" one-layer slimline card featuring the adorable new Roly Poly Penguins Set.

Sunny Studio Stamps: Roly Poly Penguins Holiday Cards by Rachel Alvarado (featuring Festive Greetings)

I first stamped a rough draft layout of my card (as shown above) onto a piece of scrap paper prior to actually stamping my actual card. I then used this rough draft and my MISTI to stamp and mask my images as I went. For my masking pieces, I used a piece of Gina K Designs Masking Magic Sheets to stamp my images onto before fussy cutting with a pair of scissors.

Sunny Studio Stamps: Roly Poly Penguins Holiday Cards by Rachel Alvarado (featuring Festive Greetings)

Once I was finished stamping and masking all of my images, I then added some Salvaged Patina Distress Ink to create my background. I then removed my masking pieces and colored my images with Copic Markers. Lastly, I used a Sakura White Gelly Roll Pen to add some white "snow" dots on top of my images as well as stamped my sentiment from the Festive Greetings Stamp Set in the top left corner of my card.

Copic Colors Used:

  • Warm White: 0, W00, W1, W3
  • Cool White: 0, C00, C1, C3
  • Black: W5, W7, W9
  • Reds: R14, R35, R46, R89
Sunny Studio Stamps: Merry Mocha Holiday Cards by Rachel Alvarado (featuring Mug Hugs, Frilly Frame Dies)

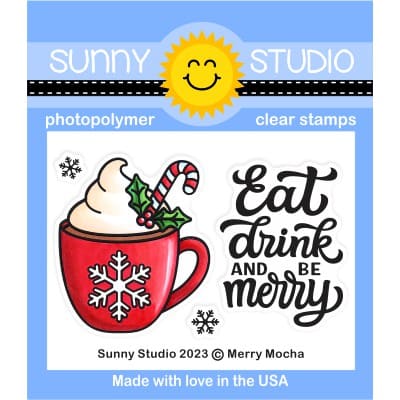
For my second card, I featured the new Merry Mocha Stamp and Die Set as well as the previously released Mug Hugs Set and Frilly Frames Stripes Dies. I once again stamped my images onto a sheet of Neenah Classic Crest Solar White 110lb Card Stock with Memento Tuxedo Black Ink and then colored them with Copic Markers (the reds and cool whites are the same colors as listed for the card above.) 

Sunny Studio Stamps: Merry Mocha Holiday Cards by Rachel Alvarado (featuring Mug Hugs, Frilly Frame Dies)

Prior to coloring the mugs, I added a snowflake to the front of each one and drew some patterned lines on the mugs from the Mug Hugs Set with a fine-tip black marker pen.

I hope you enjoyed my cards today and will check out this amazing release! Thank you so much for taking the time to stop by!

Sunny Studio Supplies Used:

Mug Hugs Dies
Mug Hugs Dies
Shop at:
Sunny Studio
Mug Hugs Stamps
Mug Hugs Stamps
Shop at:
Sunny Studio
Festive Greetings Stamps
Shop at:
Sunny Studio
Frilly Frames Stripes Die
Shop at:
Sunny Studio
Merry Mocha Stamps
Merry Mocha Stamps
Shop at:
Sunny Studio
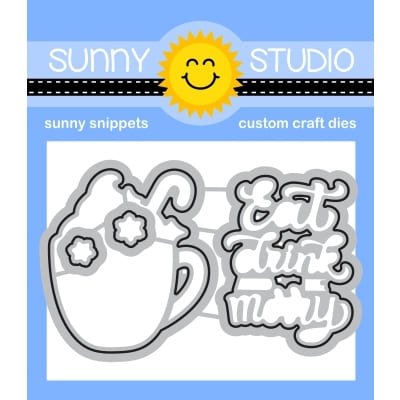
Merry Mocha Dies
Merry Mocha Dies
Shop at:
Sunny Studio
Roly Poly Penguin Stamps
Shop at:
Sunny Studio
Roly Poly Penguin Dies
Shop at:
Sunny Studio

Friday, September 27, 2024

Crisp Apple & Punny Apple Greetings Card with Nicky

Hello friends, this is Nicky with you today and I'm sharing a new friendship card with you that was created using products from the latest release, focusing on the Crisp Apple Dies, and paired with formerly released products which are great staples to have in your die collection.

Sunny Studio Stamps: Crisp Apple Die & Punny Apple Greetings Friendship Card by Nicky Meeks (featuring Tree Branch Dies, Little Birdie, Mini Grass Border Dies, Picket Fence Border Dies)

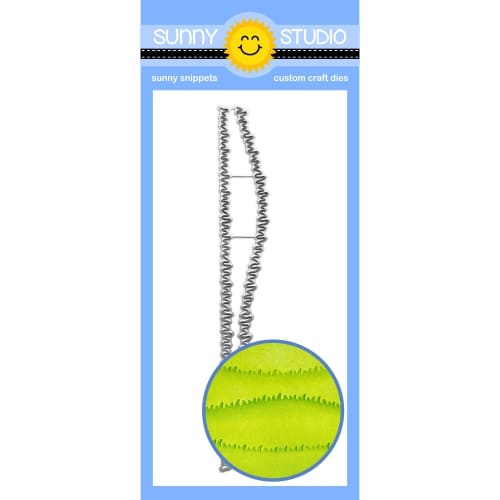
I ink blended a white A2 panel of cardstock using 'Blush' ink by The Stamp Market. I then took another A2 panel and created two grass strips using the Mini Grass Border dies. I ink blended the grass with 'Gumdrop' ink by The Stamp Market and then I used the Picket Fence Die to create the white picket fence and I glued the grass and fence to the pink background and set it to one side.

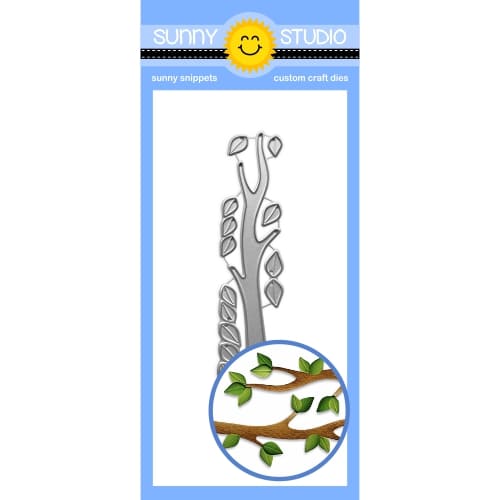
I die cut white cardstock using the Tree Branch Die and ink blended it using Tea Dye and Vintage Photo Distress Oxide Inks. This die cut was backed with a skinny strip of foam tape and applied to the background.

Next, I used the Crisp Apple Die and die cut the small apple image 6 times and created several leaves too. Leaves were ink blended with the same Gumdrop ink mentioned above and the red apples were done with 'Lipstick' ink by The Stamp Market.

Sunny Studio Stamps: Crisp Apple Die & Punny Apple Greetings Friendship Card by Nicky Meeks (featuring Tree Branch Dies, Little Birdie, Mini Grass Border Dies, Picket Fence Border Dies)

Punny Apple Greetings was used to create both the sentiment and a smiley face on each of the apples, I then glued all the components together where necessary and backed with foam tape and applied them to the scene.

Last but not least I took three of the bird images from Little Birdie and stamped and coloured them. I used Copic markers in B24, B12, B41, BG0000, R000 to colour them and I blushed their cheeks with R22, R21, R20 and R00. I fussy cut the images and adhered them to the scene. Points were highlighted with a white gel pen and some daisies dotted in the grass then the whole panel was backed with white craft foam and applied to a fractionally bigger card base.

I certainly hope you enjoyed my happy little scene card and I'll see you again next Friday with something brand new.

Sunny Studio Supplies Used:

Picket Fence Border Dies
Shop at:
Sunny Studio
Little Birdie Stamps
Shop at:
Sunny Studio
Tree Branch Die
Tree Branch Die
Shop at:
Sunny Studio
Mini Grass Border Dies
Shop at:
Sunny Studio
Punny Apple Greetings
Shop at:
Sunny Studio
Crisp Apple Dies
Crisp Apple Dies
Shop at:
Sunny Studio

Thursday, September 26, 2024

Autumn Garland Card with Marine

Hello crafty friends, Marine here with you today, I'm thrilled to be back on the blog with this bright and bold card showcasing the gorgeous Autumn Garland

Sunny Studio Stamps: Autumn Garland Fall Themed Card by Marine Simon (featuring Buffalo Plaid Dies, Straight Stripes Stencil)

I really wanted to feature two garlands on the same panel, but wasn't sure if they would fit, so I was happy that they did! I only had to trim a little bit of each element, and was able to keep both garlands on my panel. And once again, I chose to use kraft cardstock for the background panel, and for the garlands as well. I like to stencil and color on kraft cardstock all year round, but, to me, doing this during the fall season really emphasizes the autumn vibe of a card.

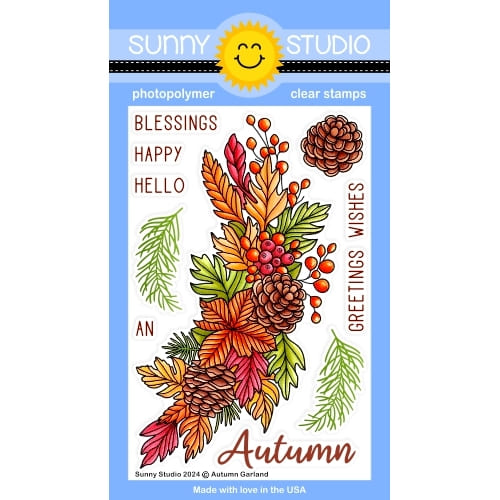
So, I started off by stamping two Autumn Garlands on kraft cardstock using an alcohol marker friendly black ink. I cut them using the matching die, and colored them both using my alcohol markers. And I used my all time favorite autumn color palette, which is red, orange, yellow, khaki green, aqua and brown.

Sunny Studio Stamps: Autumn Garland Fall Themed Card by Marine Simon (featuring Buffalo Plaid Dies, Straight Stripes Stencil)

Next I cut a 5,5 x 4,25 inches kraft panel, and added texture to this panel using the Buffalo Plaid Diagonal die. And I colored it using the Diagonal Stripes stencil along with oxide inks in the same color palette as the Autumn Garlands: lumberjack plaid, rusty hinge, fossilized amber, peeled paint and peacock feathers. I mixed some vintage photo oxide ink and some ground espresso oxide ink with water, added splatters to the panel using a small brush, and then did the same with copic opaque white and with fossilized amber distress spritz for some nice shimmery splatters.

Sunny Studio Stamps: Autumn Garland Fall Themed Card by Marine Simon (featuring Buffalo Plaid Dies, Straight Stripes Stencil)

I added the same splatters to my garlands, and once they were dry, I attached them both on my panel using 1mm foam squares and trimmed the excess on the edges. I white heat embossed "Autumn greetings" from Autumn Garland on brown cardstock, cut "Autumn" using the matching die, trimmed "Greetings" into a slim banner, and attached both pieces between the garlands using 2mm foam squares. And finally I glued a few golden pearls here and there for an extra shiny touch.

And that's it! I really love how my card turned out, and I hope you like it too. Thanks so much for stopping by, and see you next time.

Sunny Studio Supplies Used: 

Autumn Garland Stamps
Shop at:
Sunny Studio
Autumn Garland Dies
Autumn Garland Dies
Shop at:
Sunny Studio
Buffalo Plaid Diagonal Die
Shop at:
Sunny Studio
Diagonal & Straight Stripes Stencils
Shop at:
Sunny Studio

Wednesday, September 25, 2024

Brilliant Banner 3 Die Focused Card with Tina

Hi crafty friends, Tina here and today I am featuring the versatile Brilliant Banner 3 die, combined with one of my favorite sets Holiday Hugs. The matching die makes it easy for the cute bear to hold all kinds of stuff like this sweet mug!

Sunny Studio Stamps: Brilliant Banner 3 Die Focused Christmas Card by Tina Henkens (featuring Pretty Poinsettia, Autumn Garland, Holiday Hugs)

I love the start with a simple white card base and add a colorful layer on top. This time, I selected a red gingham paper from Joyful Holiday and cut it with the outer die of the Frilly Frames Stripes.

Each time I use a layered stamp set, I make sure to create a few more pieces. In this case I had some pink-red flowers in my stash from the Pretty Poinsettia set. They are the perfect backdrop for my cute bear together with some teal branches from Autumn Garland.

Sunny Studio Stamps: Brilliant Banner 3 Die Focused Christmas Card by Tina Henkens (featuring Pretty Poinsettia, Autumn Garland, Holiday Hugs)

To make these elements stand out more, I added an extra white layer to the red gingham panel by cutting the largest of the Limitless Labels 1, and dry embossing it with the Woodgrain embossing folderThen it was time to stamp and cut the sweet bear with his mug from Holiday Hugs. All the coloring was done with Copic markers in red, pink, and teal tones. Of course, I added some white snowflakes with a gel pen.

Next, I cut the Brilliant Banner 3 die from white card stock and stamped the combined sentiment (Holiday Express) in a red ink from my stash. After placing the poinsettias and leaves, I mounted the bear and banner with foam tape. A few Crystal Clear Jewels were scattered across the design as a finishing touch.

Thank you for visiting the blog and happy crafting!

Sunny Studio Supplies Used:

Holiday Express Stamps
Shop at:
Sunny Studio
Frilly Frames Stripes Die
Shop at:
Sunny Studio
Woodgrain Embossing
Woodgrain Embossing
Shop at:
Sunny Studio
Joyful Holiday Paper
Shop at:
Sunny Studio
Holiday Hugs Stamps
Holiday Hugs Stamps
Shop at:
Sunny Studio
Holiday Hugs Dies
Holiday Hugs Dies
Shop at:
Sunny Studio
Pretty Poinsettia Stamps
Shop at:
Sunny Studio
Pretty Poinsettia Dies
Shop at:
Sunny Studio
Limitless Labels 1 Dies
Shop at:
Sunny Studio
Autumn Garland Stamps
Shop at:
Sunny Studio
Autumn Garland Dies
Autumn Garland Dies
Shop at:
Sunny Studio
Brilliant Banner 3 Dies
Shop at:
Sunny Studio