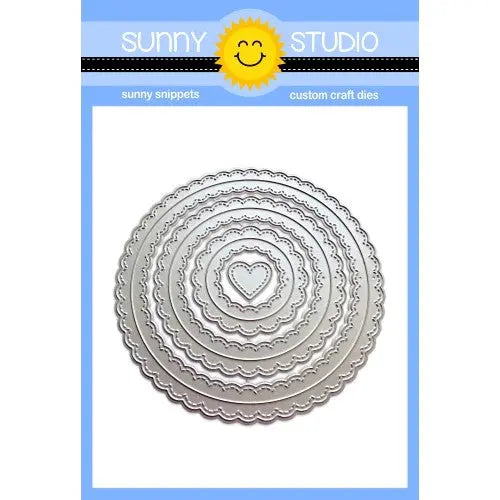
The next step is to create the shaker box frame. Die cut the large Fancy Frame Circle dies 5 times from white cardstock and glue them all together. Using the same circle die you used to cut the acetate, cut another circle from white cardstock. This is the back of the shaker. Set these pieces to the side for now.
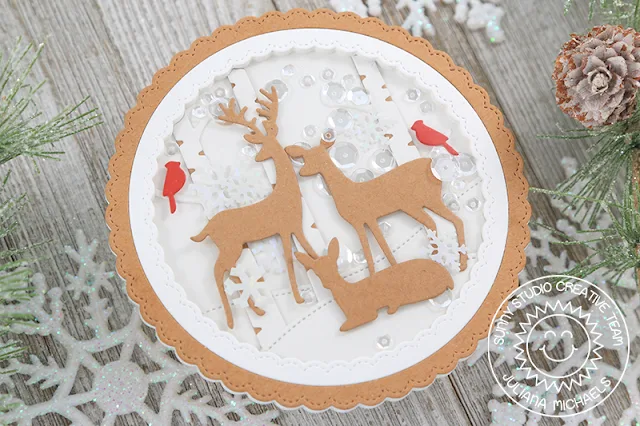
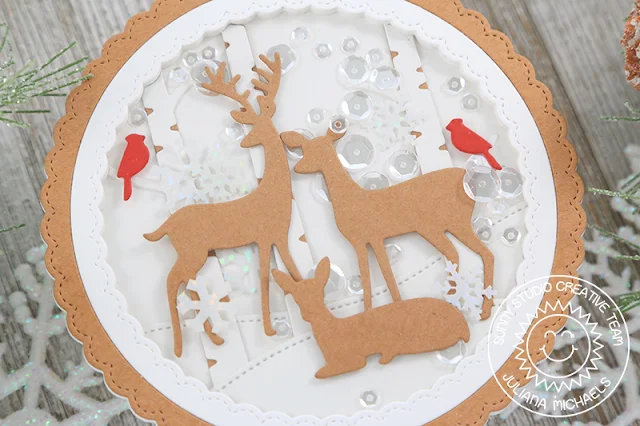
Next, take the Rustic Winter dies and cut the top layer of the trees from white cardstock and the bottom layer from kraft cardstock. Die cut some snowy hills from white cardstock using the Woodland Border dies. Grab the Rustic Winter dies again and cut some birds from red cardstock and the deer from kraft cardstock. Once you have all of the pieces cut out, layer them together to create the scene. Adhere them all to the back piece of the shaker and trimmed off anything that hang over the edge. Use double sided foam tape to adhere the deer and to add some depth and dimension to the scene.
Once the scene is complete, adhere the shaker frame pieces to the back piece. Now it's time to add the fun stuff. Pour in a mix of sequins and beads to add some sparkle and shine to the shaker card. Once the shaker is filled, glue on the top to complete the card front.
For the final step, you will create a circle shaped card base. To do this, fold a piece of cardstock in half and place the same circle die you've already used so that a little edge of it hangs over the fold. Run this through your die cutting machine and you will have created your own shaped card base. Now, just adhere the shaker to the front of the card base and your card is complete!
I hope you enjoyed this Rustic Winter shaker card I shared with you today. Thanks so much for joining me today! Until next time, happy holiday crafting!
Sunny Studio Supplies Used:
 Fancy Frames-Circle Dies Shop at: Sunny Studio |
 Woodland Borders Dies Shop at: Sunny Studio |
 Rustic Winter Dies Shop at: Sunny Studio |


No comments:
Post a Comment